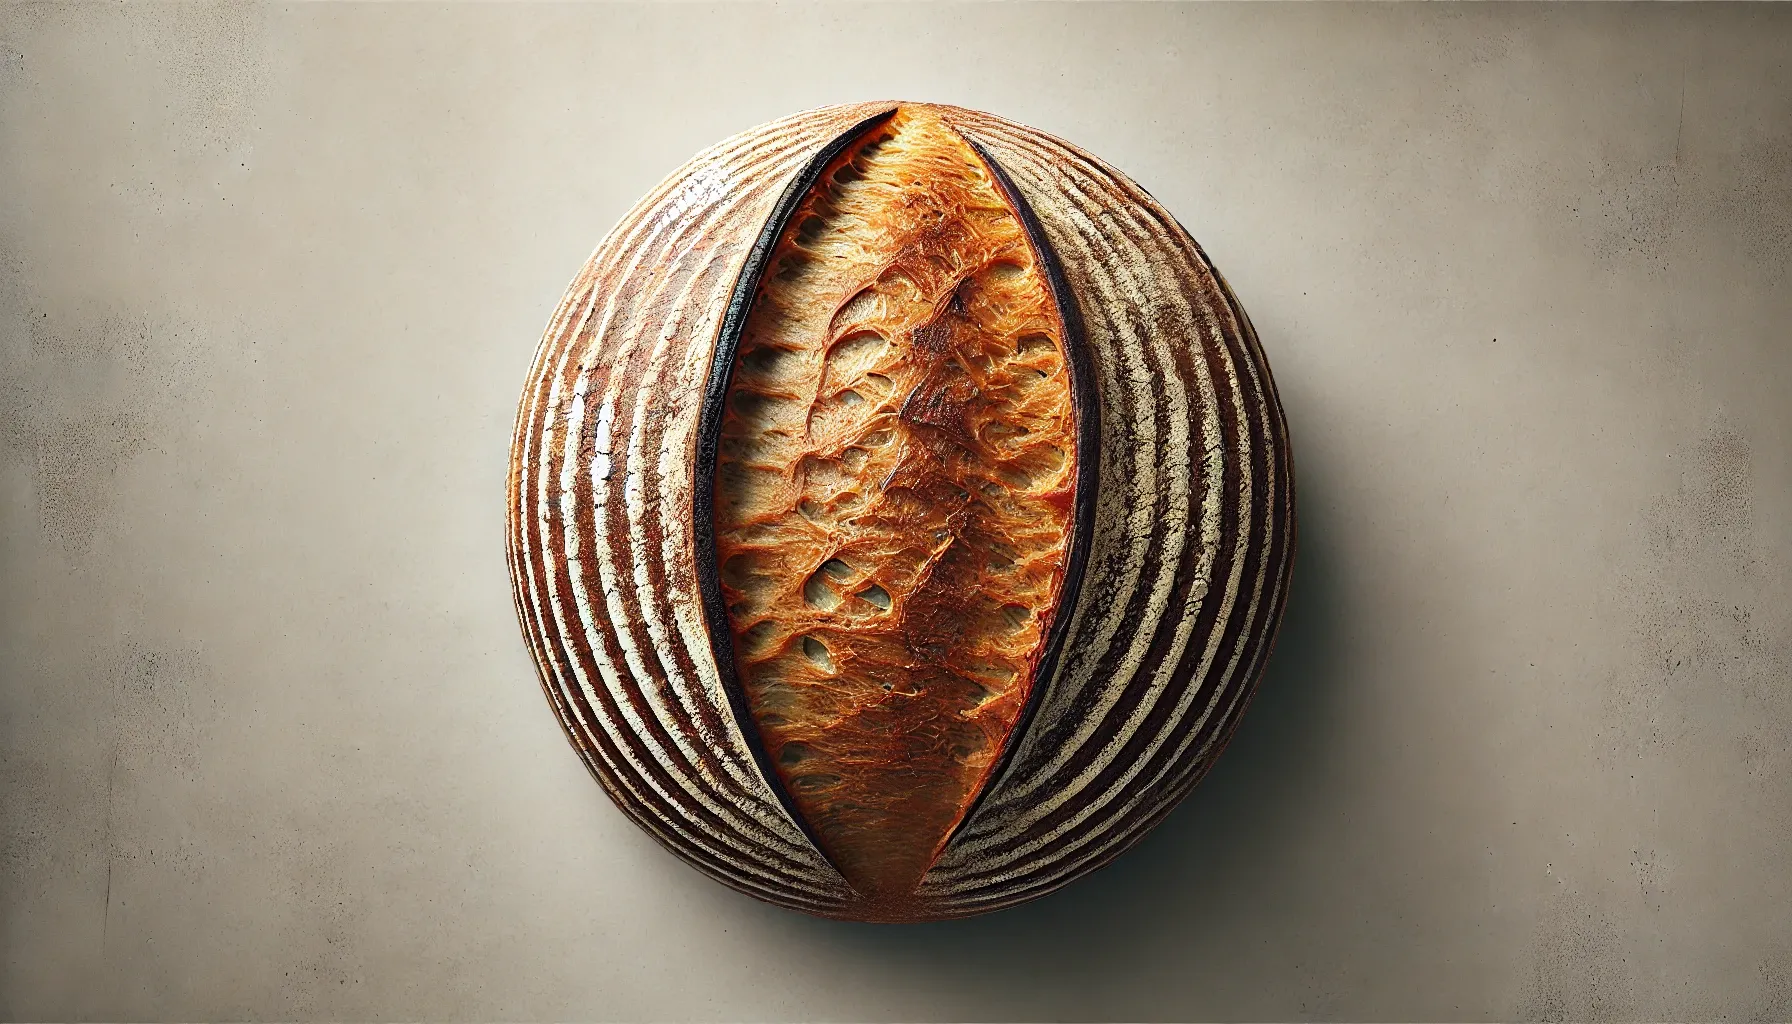
Sourdough Bread from Scratch: A Baker’s Guide
Welcome to Bakehouse Weekly, where we share tips, recipes, and insights for passionate bakers. This week, we’re diving into one of the most cherished and rewarding bakes: sourdough bread. With its deliciously tangy flavor, chewy crust, and beautifully open crumb, sourdough is a bread that both novice and experienced bakers can fall in love with. Best of all, it’s made from just three simple ingredients: flour, water, and salt.
Let’s walk through how to make sourdough bread from scratch!
Step 1: Start with a Sourdough Starter
The heart of sourdough bread is the starter, a mixture of flour and water that captures wild yeast and bacteria from the environment, allowing the dough to rise without commercial yeast. Here’s how to create your own starter.
Ingredients:
- 100g whole wheat flour (or all-purpose flour)
- 100g water (room temperature)
Directions:
- Day 1: Mix the flour and water in a clean jar or bowl. Stir well until there are no dry flour patches, cover loosely, and leave it in a warm place (ideally around 70-75°F).
- Day 2–7: Each day, "feed" your starter by discarding half of it and adding another 100g each of flour and water. Stir and cover. You’ll start noticing bubbles by day 3, and by day 7, it should be fully active—doubling in size after feeding and smelling tangy.
Step 2: Gather Your Ingredients
Once your starter is ready, you’re set to bake! Here’s what you need for a basic loaf of sourdough bread.
Ingredients:
- 500g bread flour (or a mix of all-purpose and whole wheat)
- 350g water (at room temperature)
- 100g active sourdough starter (fed and bubbly)
- 10g salt
Step 3: Mix the Dough
- Autolyse: In a large bowl, mix the flour and water until no dry bits remain. Let it rest for 30 minutes. This is called autolyse, and it helps develop gluten for a better crumb texture.
- Add Starter and Salt: After the rest period, add the sourdough starter and salt to the dough. Mix thoroughly, ensuring that everything is well incorporated.
Step 4: Knead and Stretch
Rather than kneading traditionally, sourdough dough is often developed using the stretch and fold method.
- Stretch and Fold: Every 30 minutes for the next 2-3 hours, perform a set of "stretch and folds." Wet your hands, grab one side of the dough, stretch it up, and fold it over the middle. Turn the bowl 90 degrees and repeat. Do this 3-4 times per session. This technique strengthens the dough without overworking it.
- Bulk Fermentation: After your final fold, let the dough rise at room temperature for 3-4 hours, or until it has doubled in size.
Step 5: Shape the Dough
- Pre-Shape: Lightly flour your work surface, then gently turn out the dough. Shape it into a loose round, cover it with a towel, and let it rest for 30 minutes.
- Final Shape: After the dough has relaxed, shape it into a tighter boule or batard by gently pulling the edges towards the center, creating surface tension. Place it seam-side up in a floured proofing basket or bowl lined with a floured kitchen towel.
Step 6: Proof the Dough
Now, it’s time for the dough’s final rise.
- Cold Fermentation: Cover the dough and place it in the fridge for 8-12 hours (or overnight). This slow fermentation enhances the sourdough flavor and makes it easier to score and bake later.
- Room Temperature Proof: If you prefer not to refrigerate, let the dough proof at room temperature for another 3-4 hours until puffy but not overproofed.
Step 7: Bake the Bread
Baking sourdough requires high heat and steam to achieve that perfect crust. Here’s how to do it.
- Preheat Your Oven: Set your oven to 450°F (230°C) and place a Dutch oven or baking stone inside to preheat. This creates the perfect environment for steaming the bread.
- Score the Dough: Turn the dough out onto parchment paper or a floured surface, and use a sharp knife or bread lame to score the top. This allows steam to escape and creates that signature sourdough look.
- Bake: Carefully place the dough into the hot Dutch oven (or directly onto the baking stone). Cover the Dutch oven with its lid to trap steam and bake for 20 minutes. Then, remove the lid and bake for another 20-25 minutes until the crust is deeply golden and the internal temperature of the bread reaches 210°F.
Step 8: Let it Cool
Once baked, remove your sourdough loaf from the oven and let it cool on a wire rack for at least an hour before slicing. This allows the crumb to fully set and develop its flavor.
Final Thoughts
Baking sourdough from scratch takes time and patience, but the results are well worth it. The satisfaction of creating something from just flour, water, and salt, combined with the unparalleled flavor and texture of homemade sourdough, makes the journey unforgettable. Keep practicing, adjust according to your kitchen’s conditions, and soon, you’ll be baking sourdough like a pro!
Stay tuned to Bakehouse Weekly for more tips and recipes. Happy baking!


